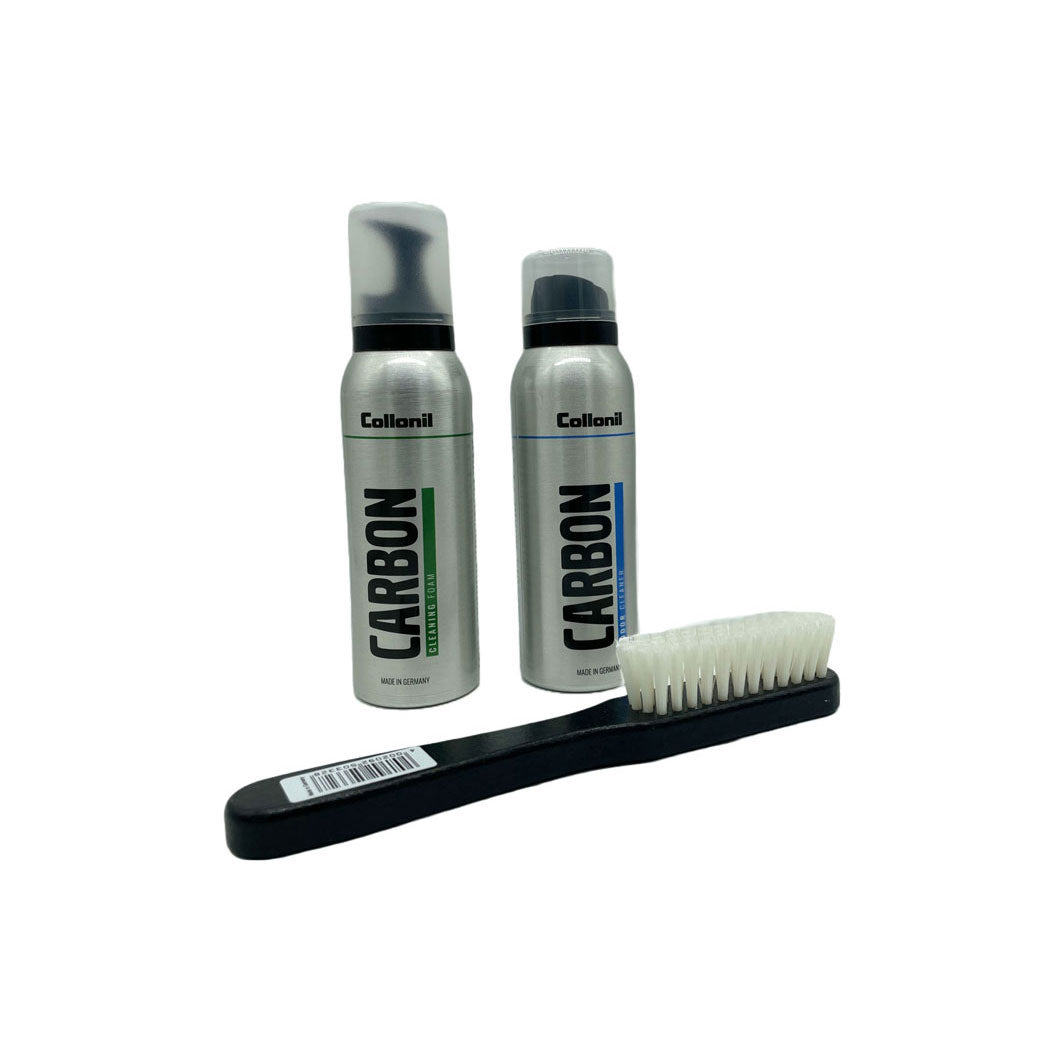
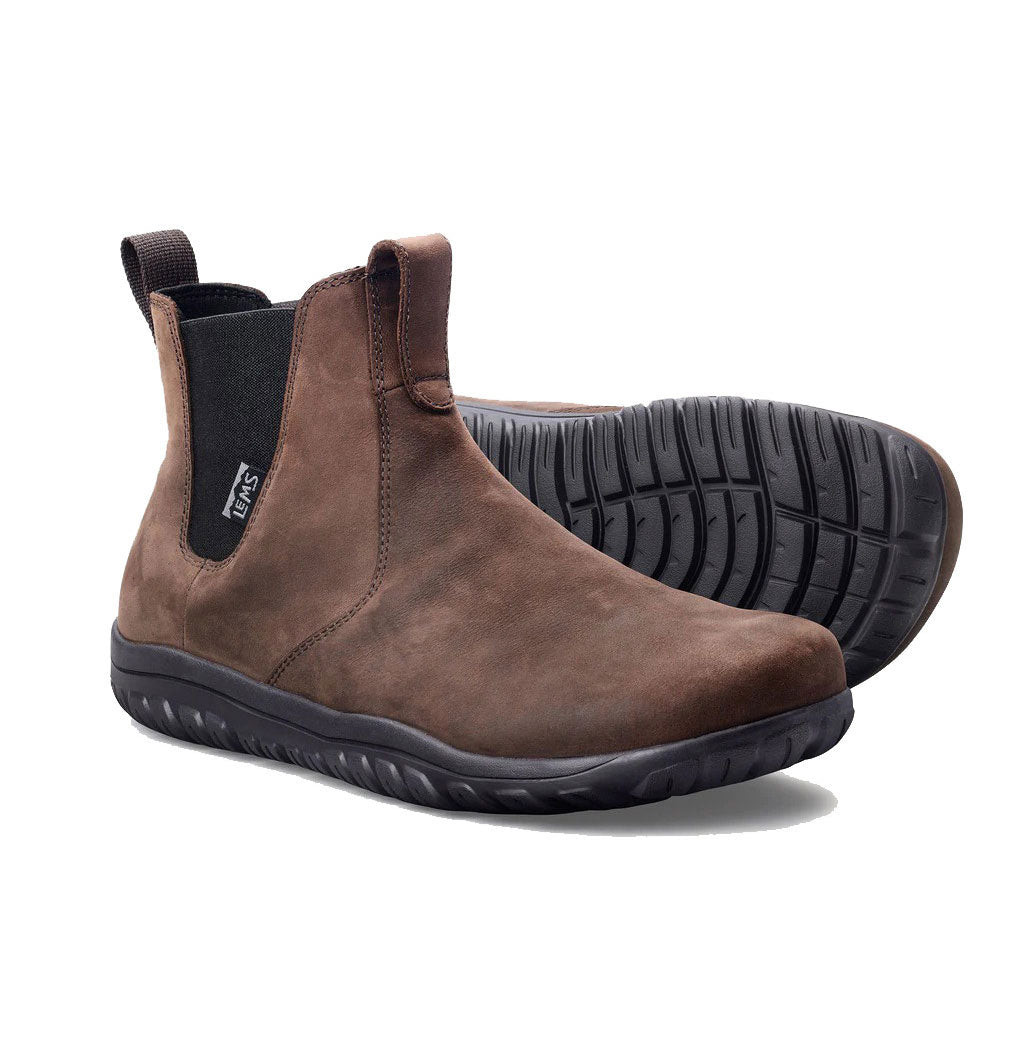
It doesn’t take long for a brand new pair of running shoes to start smelling less than pleasant! On top of the odour, they are subjected to mud, grass, sand, and other debris that not only leave them looking shabby and dirty but, if not taken care of in a timely manner, will lead to permanent staining or discolouration. Furthermore, leaving your running shoes in this unsanitary condition will also cause wear and tear sooner rather than later. That’s certainly not something you want, especially after spending your hard-earned money on something that should last you some years, at least.
So, if you want to continue enjoying your runs, maintain your running shoes, and spare the people around you the bad odour, keep reading!

5 Steps to Deep Clean Your Running Shoes
If you’ve got 30-60 minutes to spare, you can get your running shoes well-cleaned up, and smelling fresh as a daisy again! With this step-by-step guide, we will explain how to deep clean your athletic footwear without making a bigger mess of them (which often happens if you don’t know what you’re doing). It’s all about following a systematic cleaning process to ensure that you are cleaning your running shoes efficiently!
Here is what you will need for the task:
- * Old toothbrush
- Soft-bristled cleaning brush
- Paper towels
- Small plastic basin/mug
- Liquid laundry detergent
- Clean washcloth
With everything you need at hand, you’re ready to begin deep cleaning your running shoes!
Step One: Clean the Laces & Insoles
First things first; take out the insoles and shoe laces. Now, there are two ways to clean and freshen them up: 1) machine wash, or 2) hand-wash.
Let’s take a brief look at how to do both:
Machine Wash – Insoles are delicate while the ends of your shoe laces (known as the aglets) can also get damaged if measures are not taken to protect them during a wash in a washing machine. Nevertheless, it’s fairly simple to keep these crucial components of your running shoes in perfect condition throughout the cycle; all you need to do is place them inside a washable laundry bag or pillowcase, and then load it into the machine.
Hand-Wash – Make a mild cleaning solution consisting of laundry soap and room temperature water; soak the laces and insoles in it for 30 minutes. Next, gently brush each component with the cleaning brush before rinsing them off thoroughly.
NOTE: Avoid wringing the insoles as this may cause them to lose shape. Instead, place them flat down, and gently press down to push out water. Thereafter, allow the insoles to air-dry along with the laces.
Step Two: Brush the Outsole & Midsole
The dirtiest parts of a shoe are generally the bottoms and sides; therefore, they must be cleaned before the rest of the footwear is. If mud, dried grass and other debris are left on the outsoles and along the midsoles of the running shoes, the next few steps of the cleaning process will get rather messy and, even worse, the dirt may end up staining the top material further when you introduce the cleaning solution.
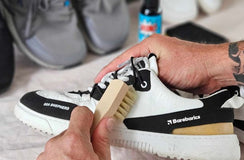
The easiest way to clean off these particular parts of your running shoes is with the help of an old toothbrush. The goal here is to remove dried mud, grass, etc, as opposed to scrubbing the material thoroughly (this will be taken care of in the next step).
Step Three: Clean the Rest of the Shoe
Now, to clean the rest of the shoe including the outer material, tongue, and inner lining, start by making your cleaning solution. Mix 1 teaspoon of liquid laundry detergent in 4-5 cups of water and give it a good stir to combine the soap and water well.
Dip the cleaning brush in the solution and clean other parts of the shoe in the following order:
- Start with the inside of the shoe – soles and inner lining.
- Clean the top and underside of the tongue.
- Gently brush the mesh/material of the shoe to remove stains and discolouration.
- Use the toothbrush and cleaning solution to scrub the midsoles and outsoles of the shoe.
NOTE: The cleaning tool you are using must be rinsed off as often as needed to ensure that any dirt it picks up is not transferred back or spread around the shoe. As the foam starts to turn brown, use paper towels to soak up the dirty suds, thus preventing them from spreading around.

Step Four: Rinse/Remove the Soap
Unless your running shoes are built to resist water, it is advisable not to saturate them as it may weaken the glue and other parts of the shoe’s construction. The alternative to rinsing your scrubbed shoes directly under running water is to use a damp washcloth instead. This may take a little more time and effort, however, with enough patience, you will be able to remove all traces of the detergent.
Dampen the washcloth with plain water and start wiping the inside of the shoe repeatedly. As it begins to absorb the cleaning solution, rinse it under running water and continue. Do the same for the rest of the shoe until you get to the bottom/outsole. For this, you might want to use an old, clean dust rag instead.
Step Five: Dry the Shoes
Many individuals make the mistake of drying their freshly cleaned running shoes outside in either direct sunlight or harsh heat. Whether it is natural or artificial heat that is being used, this is a major no-no because it can damage the material and glue permanently. Directly sunlight can also cause discolouration/fading/yellowing of the material.
To dry your running shoes safely, our advice is to allow them to air-dry, preferably under a fan, for at least 12 hours or overnight. A good tip is to use a dry, absorbent cloth to soak up moisture from the inner and outer material of the shoe before leaving it to air out and dry.
How to Keep Your Running Shoes Fresh
If you’re looking for tips to keep your running shoes from smelling bad, we’ve got a few for you! While they may have an unpleasant odour right after a run, there are a few things you can do to eliminate the smell, and keep them fresh for longer periods of time. Take a look below.
- Take your running shoes off as soon as you’re done.
- Leave them to air out and dry outdoors after every use.
- If the shoes are dry, place them out in the sun for a few hours; this will eliminate bacteria (which causes the bad odour).
- After a long run, take out the insoles and allow them to air out separately.
- Sprinkle a generous amount of baking soda inside the shoes and leave it overnight; clean out the powder before use. Baking soda is very effective in absorbing foul odours so this tip can be used as often as needed.
- Switch to a coolmax type sock which do a better job at keeping moisture to a minimum.
- Deep clean your shoes using the guide above at least once a month (if you are a regular runner).

Among the many reasons why you should maintain clean and sanitary running shoes, getting rid of the bad odour and dirty exteriors are certainly high up on the list! Much like any pair or shoes, a little TLC goes a long way in preserving them, and making sure that they look and smell great throughout their usage! Keep your feet happy and healthy with your bprimal barefoot Running Shoes clean and fresh with these great tips - because your feet deserve better!
At bprimal, we work with shoemakers and brands who create natural footwear that are made to encourage better foot health by repairing the damage caused by long term use of modern shoes. These minimalist or healthy footwear alternatives ensure proper preservation of one’s natural foot shape and function thanks to their inclusion of all the design specifics needed to achieve optimal foot health. Some of these features include wide toe boxes, slim and flexible soles, and no heel elevation. Our involvement and interaction with people who create and promote products that help individuals fix their foot problems has also inspired us to spread crucial awareness – relating to prioritising foot health as told by the experts – via our blog. Learn More - check out bprimal educational articles here, and browse through the different brands and collections of natural footwear and foot health restoration products we carry.
DISCLAIMER:
The above content is for educational or informational purposes only and is not intended to replace or augment professional medical instruction, diagnosis, or treatment. Read the full Terms and Conditions & Disclaimer here.


